Check the material’s properties to make the pelletizing process work best for different plastics.
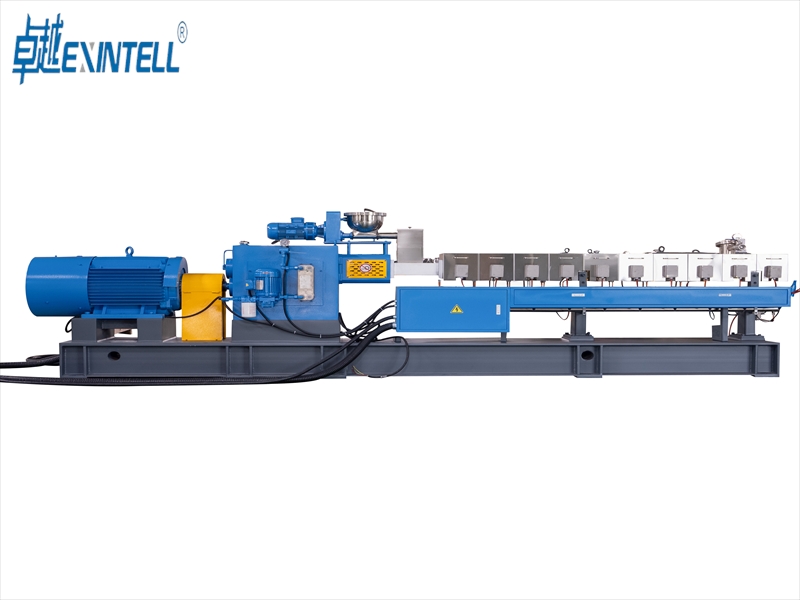
What Is A Pelletizing Extruder
Main Function
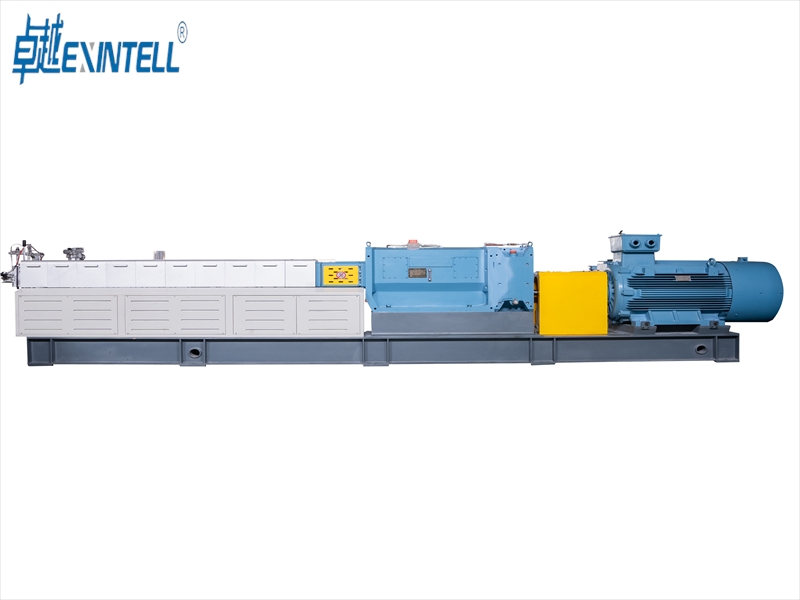
A pelletizing extruderturns raw plastic or polymer into small pellets. The machine lets you control how big and round each pellet is. Manufacturers usepellet extrudersto make products that meet strict rules. You can change waste pieces or new resin into pellets that flow well and work in other machines.
Pelletizing extrudersare important in making plastic and polymer. They help you work faster, waste less, and get steady results.
Here is a table showing what apelletizing extruderdoes:
Kasinthasintha Mpeni System (Wodula): Wodulayo amadula pulasitiki wokhazikika m'ma pellets. Mumapeza ma pellets omwe ali ofanana kukula ndi mawonekedwe.
Ena pellet extruders kukhala ndi machitidwe oyanika. Makinawa amatulutsa madzi ndikusunga ma pellets abwino.
Gome ili m'munsili likuwonetsa magawo akulu ndi zomwe amachita:
Chigawo
Udindo
Hopper
Amayika zopangira mu extruder
Screw
Amakankhira ndi kusakaniza zinthu, amasungunula pulasitiki
Choyamba, mumayika zopangira mu extruder. Hopper amasunga zinthu. Izi zikhoza kukhala pulasitiki flakes, granules, kapena ufa. Zomwe zimagwiritsidwa ntchito ndi polyethylene, polypropylene, ABS, nayiloni, ndi PLA. Mutha kugwiritsa ntchito ma feeder apadera kuti muwone kuchuluka kwa zinthu zomwe zimalowa. Nthawi zina, muyenera kuyanika zinthuzo poyamba. Kuyanika ndikofunikira pamapulasitiki omwe amamwa madzi. Kuyanika kumayimitsa thovu ndi zovuta zina mu pellets.
The feeding system controls how much material goes inside. If you feed the same amount each time, the pellets are better. The size of the pieces and how wet they are also matter. Small pieces and the right amount of water help make strong pellets.
Melting And Homogenization
Next, the screw pushes the material forward. The barrel gets hot and melts the plastic. The screw’s shape is important here. Some screws mix the material better and keep the heat even. Mixing helps blend in things like color or stabilizers.
You must set the right heat for each plastic. Mwachitsanzo, polypropylene melts between 200°C and 260°C. ABS melts between 210°C and 250°C. The table below shows melt temperatures for different plastics:
Plastic Polymer
Practical Melt Temperature Range (°C)
ABS (Acrylonitrile Butadiene Styrene)
210 – 250
Polycarbonate (PC)
280 – 320
Polypropylene (PP)
200 – 260
Nayiloni 66 (PA66)
280 – 310
Polyethylene (Zithunzi za HDPE)
210 – 260
Polyoxymethylene (POM)
190 – 220
Kusungunuka kwabwino ndi kusakaniza kumapangitsa pulasitiki yosungunuka kukhala yosalala. Sitepe iyi imachotsa thovu la mpweya ndikusakaniza zonse pamodzi. Tsopano pulasitiki yosungunuka ndi yokonzekera sitepe yotsatira.
Extrusion Through Die
Pulasitiki yosungunuka imasunthira ku dongosolo lakufa. Chovalacho chimapanga pulasitiki kukhala zingwe kapena mitundu ina. Msuzi umagwira ntchito ngati nkhungu. Imawongolera kukula ndi mawonekedwe a pellets. Maonekedwe a imfa ndi ofunika. Zimasankha momwe ma pellets ali okhuthala komanso otambasuka. Kufa kwabwino kumakupatsani ma pellets omwe amawoneka ofanana.
Kupanikizika ndi liwiro pano kumasintha momwe ma pellets ali abwino. Muyenera kusunga izi kuti mukhale ndi ma pellets abwino kwambiri.
Kuzizira System
Pambuyo posiya kufa, pulasitiki ikadali yotentha komanso yofewa. Dongosolo lozizira limapangitsa ma pellets kukhala olimba ndikusunga mawonekedwe awo. Madzi ozizira amagwiritsidwa ntchito kwambiri chifukwa amazizira mofulumira komanso mofanana. Makina ena amagwiritsa ntchito kuziziritsa mpweya kwa mapulasitiki omwe amasungunuka kutentha pang'ono. Kudula pansi pamadzi kumaziziritsa ma pellets nthawi yomweyo. Izi ndi zabwino kwa mapulasitiki omwe amasungunuka mosavuta.
Njira Yozizirira
Kufotokozera
Ma polima Oyenera
Madzi Kuzirala
Amagwiritsa ntchito madzi kuziziritsa ma pellets mwachangu ndikusunga bwino.
Pamene ma pellets ali ozizira, amapita kwa wodula. Mpeni wozungulira umadula zingwezo kukhala ma pellets. The speed and type of blade change how long and thick the pellets are. More blades or faster cutting make shorter pellets. Where you put the cutter matters too. If it is too close to the die, it wears out fast. If it is too far, the pellets are not even.
You can cut pellets in different ways:
Strand pelletizing: Cut after cooling in water.
Hot-cut pelletizing: Cut right at the die face.
Underwater pelletizing: Cut in water for fast cooling.
Each way works best for certain plastics and jobs.
Collection And Quality Control
You collect the finished pellets at the end. Nthawi zina, you need to dry them to remove water. This is where you check the pellets for size, shape, and purity. You test the pellets and remove any bad ones. Some companies use special tests for plastics that need to be very pure.
You must follow world rules to make sure your pellets are good. Good checks mean your pellets will work well in other machines.
Langizo: Check the pellets often when you collect them. This helps you find problems early and keeps your machine working well.
If you follow each step, you turn raw material into good pellets. Every stage is important for making the final product.
Factors Affecting Pelletizing
When you use a pelletizing extruder, you must control some things. These things help you get strong and even pellets. You need to watch temperature, screw liwiro, and your material’s properties. Each one can change how your pellets look. They also affect how well your machine works.
Kuwongolera Kutentha
You have to check the temperature all the time. The right temperature helps pellets stick together well. When the temperature is near a special point calledT*, time in the die matters. This time changes how tough your pellets are. If you go over T*, pellets stick faster but get weaker. Good temperature control makes pellets last longer and not break. It also keeps your pellets good and stops waste.
Langizo: Use sensors to check temperature often. This helps you fix problems fast.
Screw Speed
The screw’s speed changes how fast you make pellets. If the screw goes too fast, pellets may not look even. They can also get air bubbles. If the screw is too slow, you make fewer pellets. You need to find the best speed for your material and machine. Try different speeds and look at your pellets often. This helps you keep pellet quality the same and stop problems.
Material Properties
Mtundu wa zinthu zomwe mumagwiritsa ntchito ndizofunikanso. Muyenera kuganizira za chinyezi ndi mamasukidwe akayendedwe. Umu ndi momwe zinthu izi zimasinthira ma pellets anu:
Madzi ochulukirapo amapangitsa kuti ma pellets anyowe komanso amphamvu, koma akuwoneka akuda.
Mavuto amakina ndi machitidwe amathanso kuvulaza ma pelletizing. Mutha kuwona kutulutsa kosiyanasiyana, kupanga kochepa, kapena ma pellets oipa. Nazi mavuto ndi njira zothetsera mavutowo:
Ngati kukula kwa pellet ndi mawonekedwe sizolondola, kusintha kutentha kutentha, sungani masamba akuthwa, ndikuwona kusiyana kwa tsamba.
Ngati muwona zotulutsa zochepa kapena kupanikizana, look for blocked die holes and make sure material moves well in the hopper.
If the extruder or motor gets too hot, check the cooling system and look for friction or a motor working too hard.
If pellets are not good, check the temperature, handle materials with care, and dry materials that take in water.
You should also check for screw wear, strange sounds, and shaking. These signs can mean parts are worn or there is something in the material that should not be there. Checking and fixing things often keeps your pelletizing smooth and your pellets the same.
Langizo: Write down problems and how you fix them. This helps you see patterns and fix things faster next time.
You can learn each step of the pelletizing extruder process. Controlling temperature and cooling helps make strong, yunifolomu pellets. Improving how you run your machine reduces waste and saves money. When pellets flow smoothly, jams are less likely, and work stays steady. Proper melting and mixing create pellets that meet high standards. This also helps cut material loss and makes production faster. Whether you’re new or experienced, keep practicing to make the best pellets every time.
Even melting and mixing produce consistent pellets.
Pelletizing saves material and increases efficiency.
FAQ
What materials can you use in a pelletizing extruder?
You can usemany kinds of plastic. Some examples are polyethylene, polypropylene, ABS, nayiloni, ndi PLA. Some machines can also use recycled plastic or blends. Always make sure your extruder works with your material.
How do you keep pellets from sticking together?
Dry your material before you feed it in. Pick the best cooling method for your plastic. Keep the temperature the same. These steps help you getstrong pellets that do not stick.
Why do pellets sometimes have uneven shapes?
Pellets can look uneven if the die or cutter has issues. Check if the blades are worn out or if die holes are blocked. Wrong screw speed can also cause this. Fix these things to make pellets even.
How often should you clean your pelletizing extruder?
Clean your extruder after every time you finish making pellets.
Take out leftover material and look for any buildup.
Cleaning often keeps your pellets good and your machine working well.