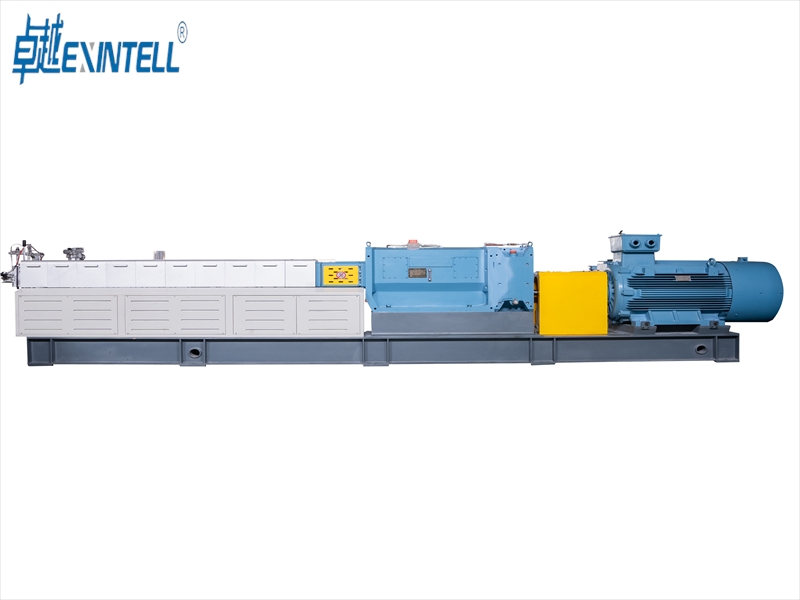
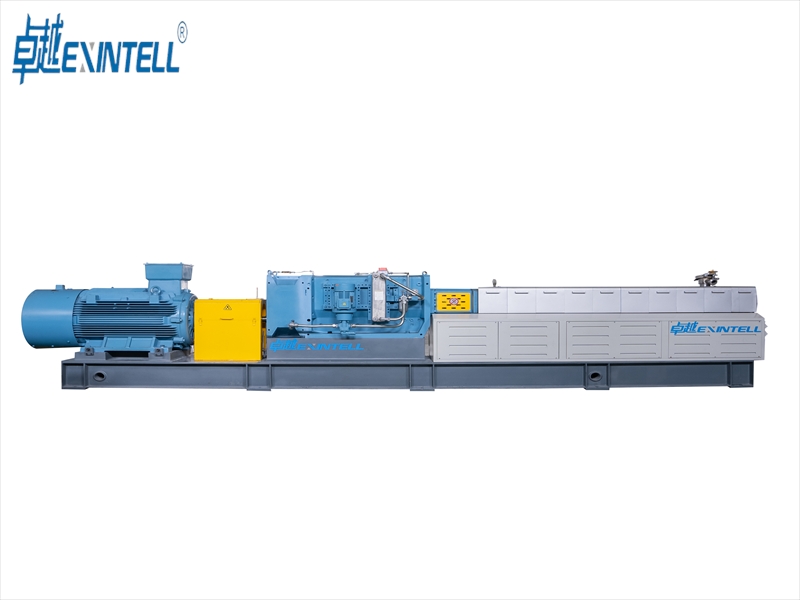
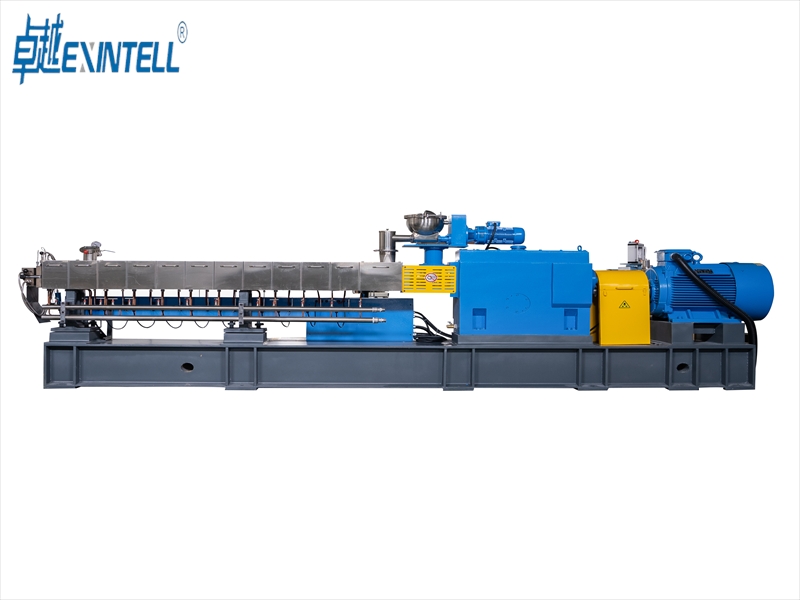
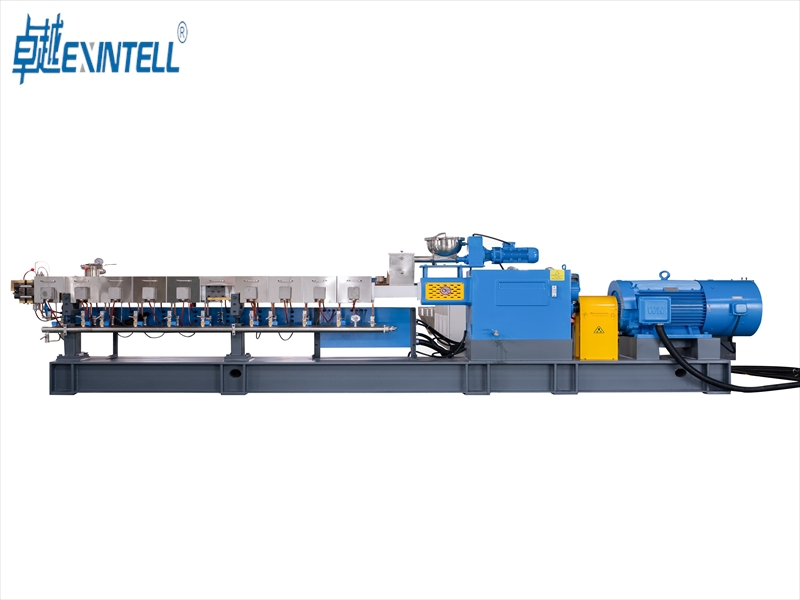
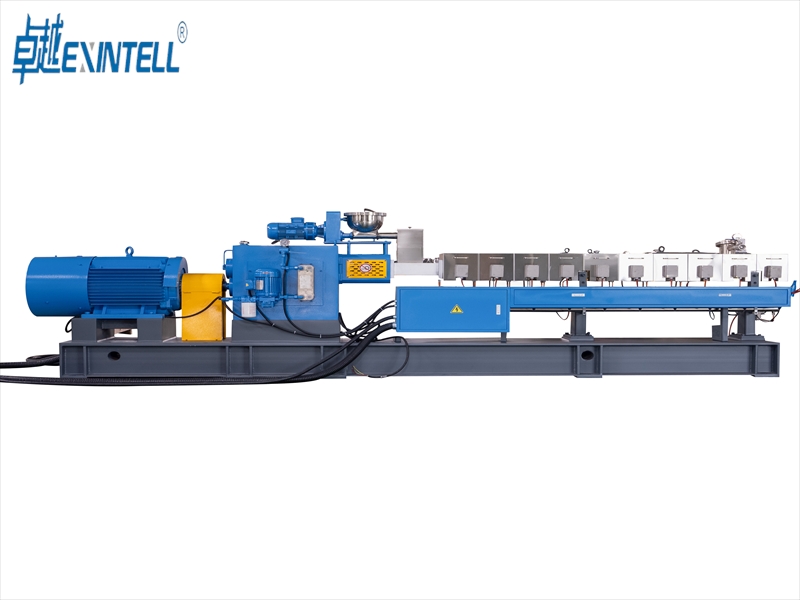
When you use apelletizing extruder, you change raw material into pellets by following clear steps. You put material into the extruder. The machine melts and mixes it. Poi, it pushes the material through a die to make pellets. Each step is important for making strong and even pellets. If you know how pelletizing works, you can make your extruder better and fix problems faster.
Controlla le proprietà del materiale per far sì che il processo di pellettizzazione funzioni al meglio per le diverse plastiche.
Cos'è un estrusore di pellettizzazione
Funzione principale
UN pelletizing extruder trasforma la plastica grezza o il polimero in piccoli pellet. La macchina ti consente di controllare quanto è grande e rotondo ogni pellet. I produttori utilizzano estrusori di pellet per realizzare prodotti che rispettino regole rigorose. Puoi trasformare i pezzi di scarto o la nuova resina in pellet che scorrono bene e funzionano in altre macchine.
Estrusori pellettizzatori sono importanti nella produzione di plastica e polimeri. Ti aiutano a lavorare più velocemente, sprecare meno, e ottenere risultati costanti.
Ecco una tabella che mostra cosa a pelletizing extruder fa:
Forme di plastica fusa, controlla lo spessore e la pressione del pellet
Sistema di raffreddamento
Rende i pellet duri, impedisce loro di cambiare forma
Sistema di coltelli rotanti
Taglia i pellet raffreddati nella stessa dimensione e forma
È possibile modificare il design di queste parti in base alle proprie esigenze. I sistemi di automazione ti aiutano a controllare il calore e ti avvisano dei problemi. I sistemi di raffreddamento ed essiccazione mantengono il pellet resistente e ne proteggono la qualità.
Processo di estrusore di pellettizzazione
L'estrusore di pellettizzazione funziona a passi. Ogni passaggio trasforma la materia prima in pellet che sembrano uguali. È necessario conoscere ogni fase per ottenere buon pellet.
Alimentazione del materiale
Primo, metti la materia prima nell'estrusore. La tramoggia contiene il materiale. Questo materiale può essere scaglie di plastica, granuli, o polveri. Alcuni materiali comuni sono il polietilene, polipropilene, ABS, nylon, e PLA. È possibile utilizzare alimentatori speciali per controllare la quantità di materiale che entra. A volte, devi prima asciugare il materiale. L'essiccazione è importante per le plastiche che assorbono acqua. L'essiccazione impedisce la formazione di bolle e altri problemi nei pellet.
Il sistema di alimentazione controlla la quantità di materiale che entra all'interno. Se dai la stessa quantità ogni volta, i pellet sono migliori. Anche la dimensione dei pezzi e il loro livello di umidità sono importanti. Piccoli pezzi e la giusta quantità di acqua aiutano a produrre pellet resistenti.
Fusione e omogeneizzazione
Prossimo, la vite spinge il materiale in avanti. La canna si surriscalda e scioglie la plastica. La forma della vite è importante qui. Alcune viti mescolano meglio il materiale e mantengono il calore uniforme. La miscelazione aiuta a fondere cose come colore o stabilizzanti.
È necessario impostare il calore giusto per ogni plastica. Per esempio, il polipropilene fonde tra 200°C e 260°C. L'ABS fonde tra 210°C e 250°C. The table below shows melt temperatures for different plastics:
Plastic Polymer
Practical Melt Temperature Range (°C)
ABS (Acrilonitrile Butadiene Stirene)
210 – 250
Policarbonato (computer)
280 – 320
Polipropilene (PP)
200 – 260
Nylon 66 (PA66)
280 – 310
Polietilene (HDPE)
210 – 260
Polyoxymethylene (POM)
190 – 220
Good melting and mixing make the melted plastic smooth. This step removes air bubbles and mixes everything together. Now the melted plastic is ready for the next step.
Extrusion Through Die
The melted plastic moves to the die system. The die shapes the plastic into strands or other forms. The die works like a mold. It controls the size and shape of the pellets. The shape of the die is important. It decides how thick and wide the pellets are. A good die gives you pellets that all look the same.
The pressure and speed here change how good the pellets are. You need to keep these steady for the best pellets.
Sistema di raffreddamento
After leaving the die, the plastic is still hot and soft. Il sistema di raffreddamento rende i pellet duri e mantengono la loro forma. Il raffreddamento ad acqua è molto utilizzato perché raffredda velocemente e in modo uniforme. Alcune macchine utilizzano il raffreddamento ad aria per la plastica che si scioglie a calore inferiore. Il taglio subacqueo raffredda immediatamente i pellet. Questo è utile per le plastiche che si sciolgono facilmente.
Metodo di raffreddamento
Descrizione
Polimeri adatti
Raffreddamento ad acqua
Utilizza l'acqua per raffreddare velocemente i pellet e mantenerli buoni.
Molte plastiche che necessitano di raffreddamento.
Raffreddamento ad aria
Non così veloce, utilizzato per plastiche che si sciolgono a bassa temperatura.
Materie plastiche con basso indice di fusione.
Taglio subacqueo
Taglia e raffredda immediatamente i pellet in acqua.
PP non tessuto, tessuti soffiati a fusione.
Il raffreddamento deve essere uniforme. Se il raffreddamento è troppo veloce o troppo lento, i pellet possono rompersi o cambiare forma. Un buon raffreddamento mantiene i pellet forti e con un bell'aspetto.
Taglio in pellet
Quando i pellet sono freddi, vanno al taglierino. Il coltello rotante taglia i fili in pellet. La velocità e il tipo di lama cambiano la lunghezza e lo spessore dei pellet. Più lame o un taglio più veloce producono pellet più corti. Anche dove metti la taglierina è importante. Se è troppo vicino al dado, si consuma velocemente. Se è troppo lontano, i pellet non sono pari.
Puoi tagliare il pellet in diversi modi:
Pellettizzazione dei fili: Tagliare dopo il raffreddamento in acqua.
Pellettizzazione a caldo: Taglia direttamente sulla faccia della fustella.
Pellettizzazione subacquea: Tagliare in acqua per un raffreddamento rapido.
Ciascun modo funziona meglio per determinate materie plastiche e lavori.
Raccolta e controllo qualità
Alla fine raccogli i pellet finiti. A volte, è necessario asciugarli per rimuovere l'acqua. Qui è dove controlli la dimensione dei pellet, forma, e purezza. Provi i pellet e rimuovi quelli difettosi. Some companies use special tests for plastics that need to be very pure.
You must follow world rules to make sure your pellets are good. Good checks mean your pellets will work well in other machines.
Mancia: Check the pellets often when you collect them. This helps you find problems early and keeps your machine working well.
If you follow each step, you turn raw material into good pellets. Every stage is important for making the final product.
Factors Affecting Pelletizing
When you use a pelletizing extruder, you must control some things. These things help you get strong and even pellets. You need to watch temperature, velocità della vite, and your material’s properties. Each one can change how your pellets look. They also affect how well your machine works.
Controllo della temperatura
You have to check the temperature all the time. The right temperature helps pellets stick together well. When the temperature is near a special point calledT*, time in the die matters. This time changes how tough your pellets are. If you go over T*, pellets stick faster but get weaker. Good temperature control makes pellets last longer and not break. It also keeps your pellets good and stops waste.
Mancia: Use sensors to check temperature often. This helps you fix problems fast.
Velocità della vite
The screw’s speed changes how fast you make pellets. If the screw goes too fast, pellets may not look even. They can also get air bubbles. If the screw is too slow, you make fewer pellets. You need to find the best speed for your material and machine. Try different speeds and look at your pellets often. This helps you keep pellet quality the same and stop problems.
Material Properties
The kind of material you use is important too. You should think about moisture and viscosity. Here is how these things change your pellets:
More water makes pellets wetter and stronger, but they look darker.
Smaller pieces make the material thicker and harder to push.
You can change your extruder for different materials. Per esempio, you can use a special die shape. The table below shows how you can change your process:
Use computer models to design dies for hard shapes.
You can also use co-extrusion systems. These let you mix materials and make layered pellets for special uses.
If you control these things, you make better pellets. You also keep your pelletizing process working well.
Pellet Extruder Troubleshooting
Common Pellet Quality Issues
A volte, you see problems with your pellets. These problems can change how your pellets look or work. Here are some issues you might find:
Agglomeration or big clumps happen if pellets get too hot or water is too low.
Fines and angel hair show up if orifice tips break or the knife does not move right.
Twins, triplets, and chains form if the knife is too fast or the product is too hot.
Dog bones and dumbbells appear if blades are worn out or the material is not thick enough.
Tails form if the gap between the knife and die is too big or the die is not flat.
Longs and elbows happen if the knife is too slow or the extrusion rate is high.
Internal voids and popcorn can show up if the polymer has water or cools too fast.
Dimples and dust appear if the product shrinks too fast or is brittle.
Surface or melt fracture and trash or shavings happen if the extrusion rate is high or the knife is not adjusted often.
Pellets that do not look the same can come from temperature changes or uneven die heating.
You can use tools like theIshikawa fishbone diagramor the 5 Whys technique to find out what is wrong. These tools help you list causes and look deeper into the problem.
Mechanical And Process Problems
Mechanical and process problems can also hurt pelletizing. You might see uneven output, low production, or bad pellets. Here are some problems and ways to fix them:
If pellet size and shape are not right, change the die temperature, keep blades sharp, and check the blade gap.
If you see less output or jams, look for blocked die holes and make sure material moves well in the hopper.
If the extruder or motor gets too hot, check the cooling system and look for friction or a motor working too hard.
If pellets are not good, check the temperature, handle materials with care, and dry materials that take in water.
You should also check for screw wear, strange sounds, and shaking. These signs can mean parts are worn or there is something in the material that should not be there. Checking and fixing things often keeps your pelletizing smooth and your pellets the same.
Mancia: Write down problems and how you fix them. This helps you see patterns and fix things faster next time.
You can learn each step of the pelletizing extruder process. Controlling temperature and cooling helps make strong, uniform pellets. Improving how you run your machine reduces waste and saves money. When pellets flow smoothly, jams are less likely, and work stays steady. Proper melting and mixing create pellets that meet high standards. This also helps cut material loss and makes production faster. Whether you’re new or experienced, keep practicing to make the best pellets every time.
Even melting and mixing produce consistent pellets.
Pelletizing saves material and increases efficiency.
Domande frequenti
What materials can you use in a pelletizing extruder?
You can usemany kinds of plastic. Some examples are polyethylene, polipropilene, ABS, nylon, e PLA. Some machines can also use recycled plastic or blends. Always make sure your extruder works with your material.
How do you keep pellets from sticking together?
Dry your material before you feed it in. Pick the best cooling method for your plastic. Keep the temperature the same. These steps help you getstrong pellets that do not stick.
Why do pellets sometimes have uneven shapes?
Pellets can look uneven if the die or cutter has issues. Check if the blades are worn out or if die holes are blocked. Wrong screw speed can also cause this. Fix these things to make pellets even.
How often should you clean your pelletizing extruder?
Clean your extruder after every time you finish making pellets.
Take out leftover material and look for any buildup.
La pulizia spesso mantiene il pellet in buone condizioni e la macchina funziona bene.